
I was first introduced to the idea of lap books when I attended a Homeschool History Event a couple of friends were hosting. I immediately thought they were a great way to organize materials, lessons and ideas.
A quick google search will give you many cute, creative fun lap book ideas. You can find all kinds of themed lessons, with pockets and games and much more. You are not going to find that here. 🙂 This is a quick simple way to organize your science experiments.
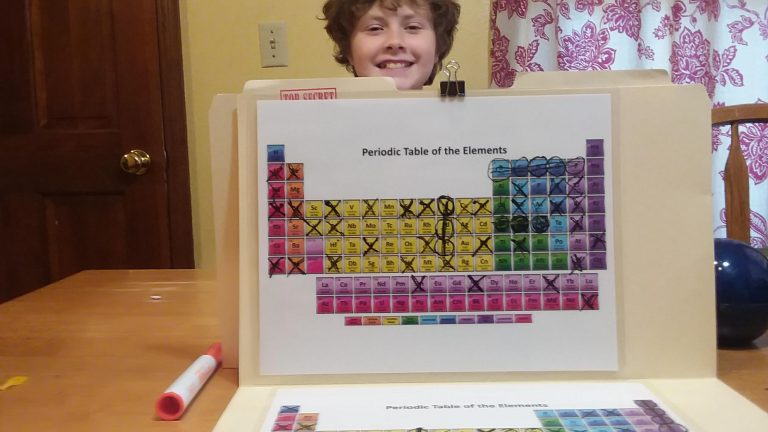
This year JV has put one together for his upcoming science experiments.
First print out the side panel printout. You may need additional copies for vocabulary. Next print out one or multiple copies of the center panel printout.
On the left side panel you will find Science Safety along with the Scientific Method. There are three questions on the bottom for your child to answer.
On the right side panel is a space for any vocabulary introduced with each science lesson or experiment.
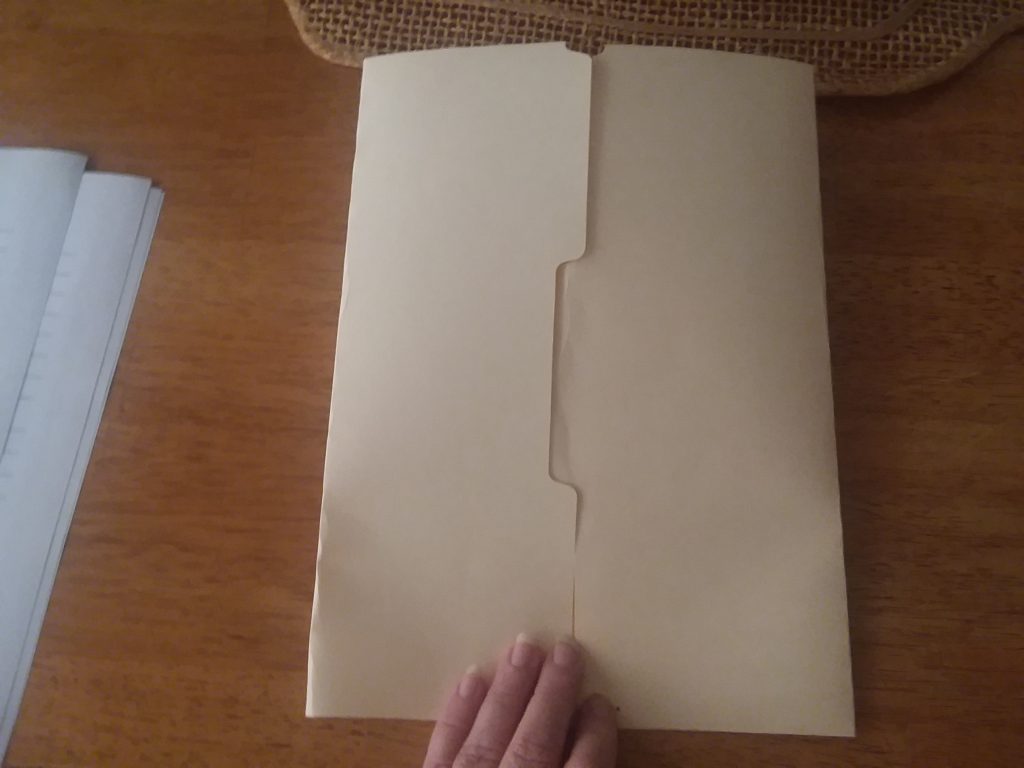
Start with a file folder. Have your child fold both sides towards the center.
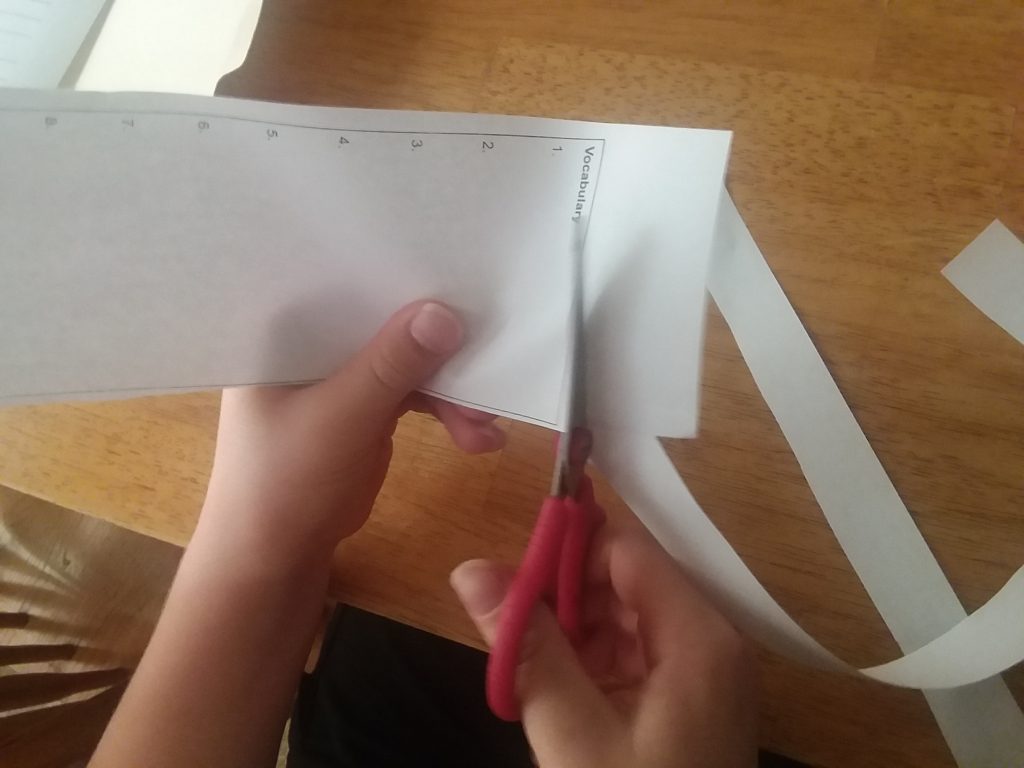
Next your child will cut out side panels.
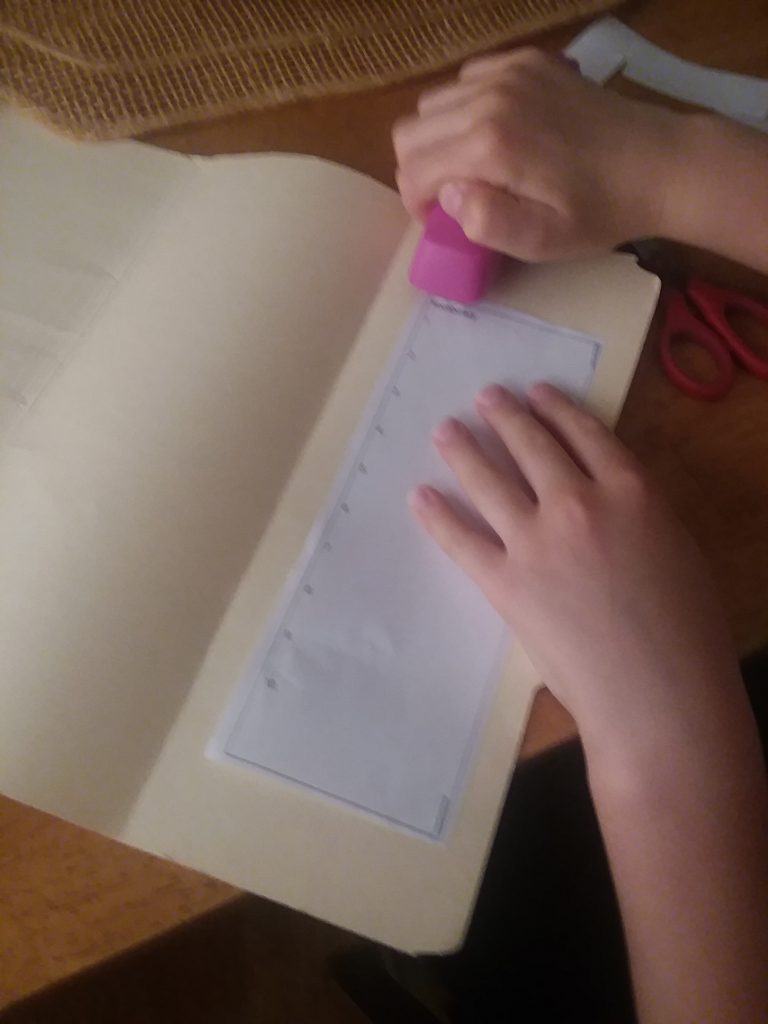
Have your child attach side panels. Safety measures on the left and vocabulary on the right. Attach the vocabulary panel at the top allowing these to be flipped through for future experiments.
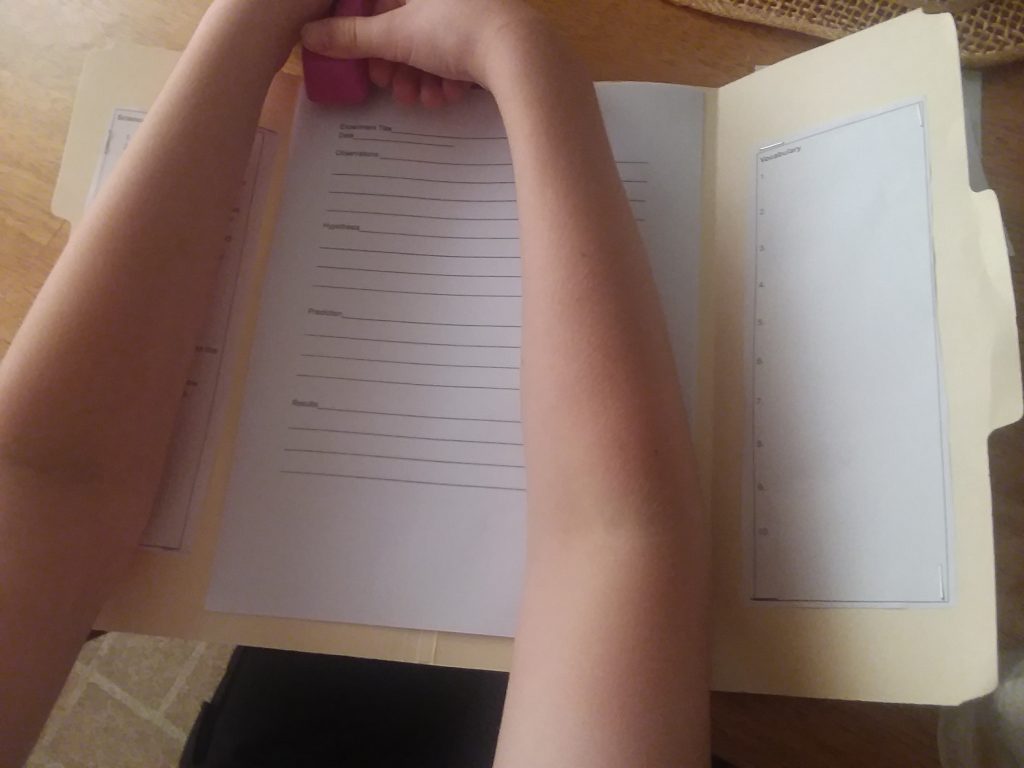
Next have your child staple the center panel at each corner on the top. You can add as many as you need or add more as you progress through your school year.
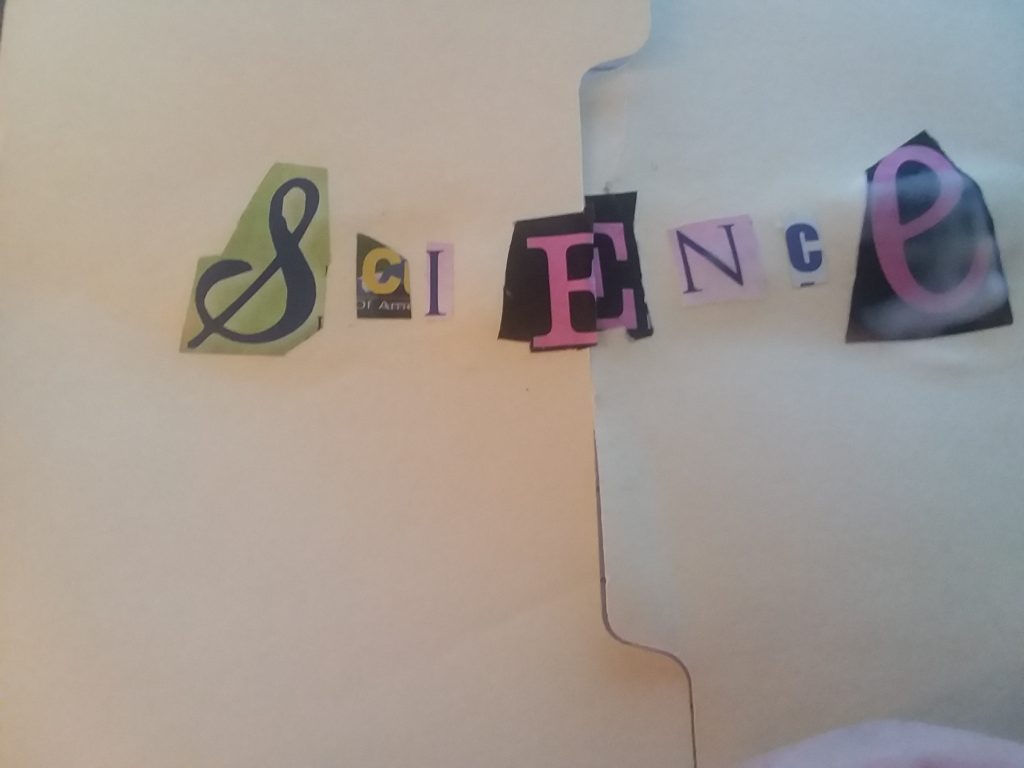
Now decorate the front.
I hope you have a great school year experimenting and learning about the world around us. Happy Homeschooling.